
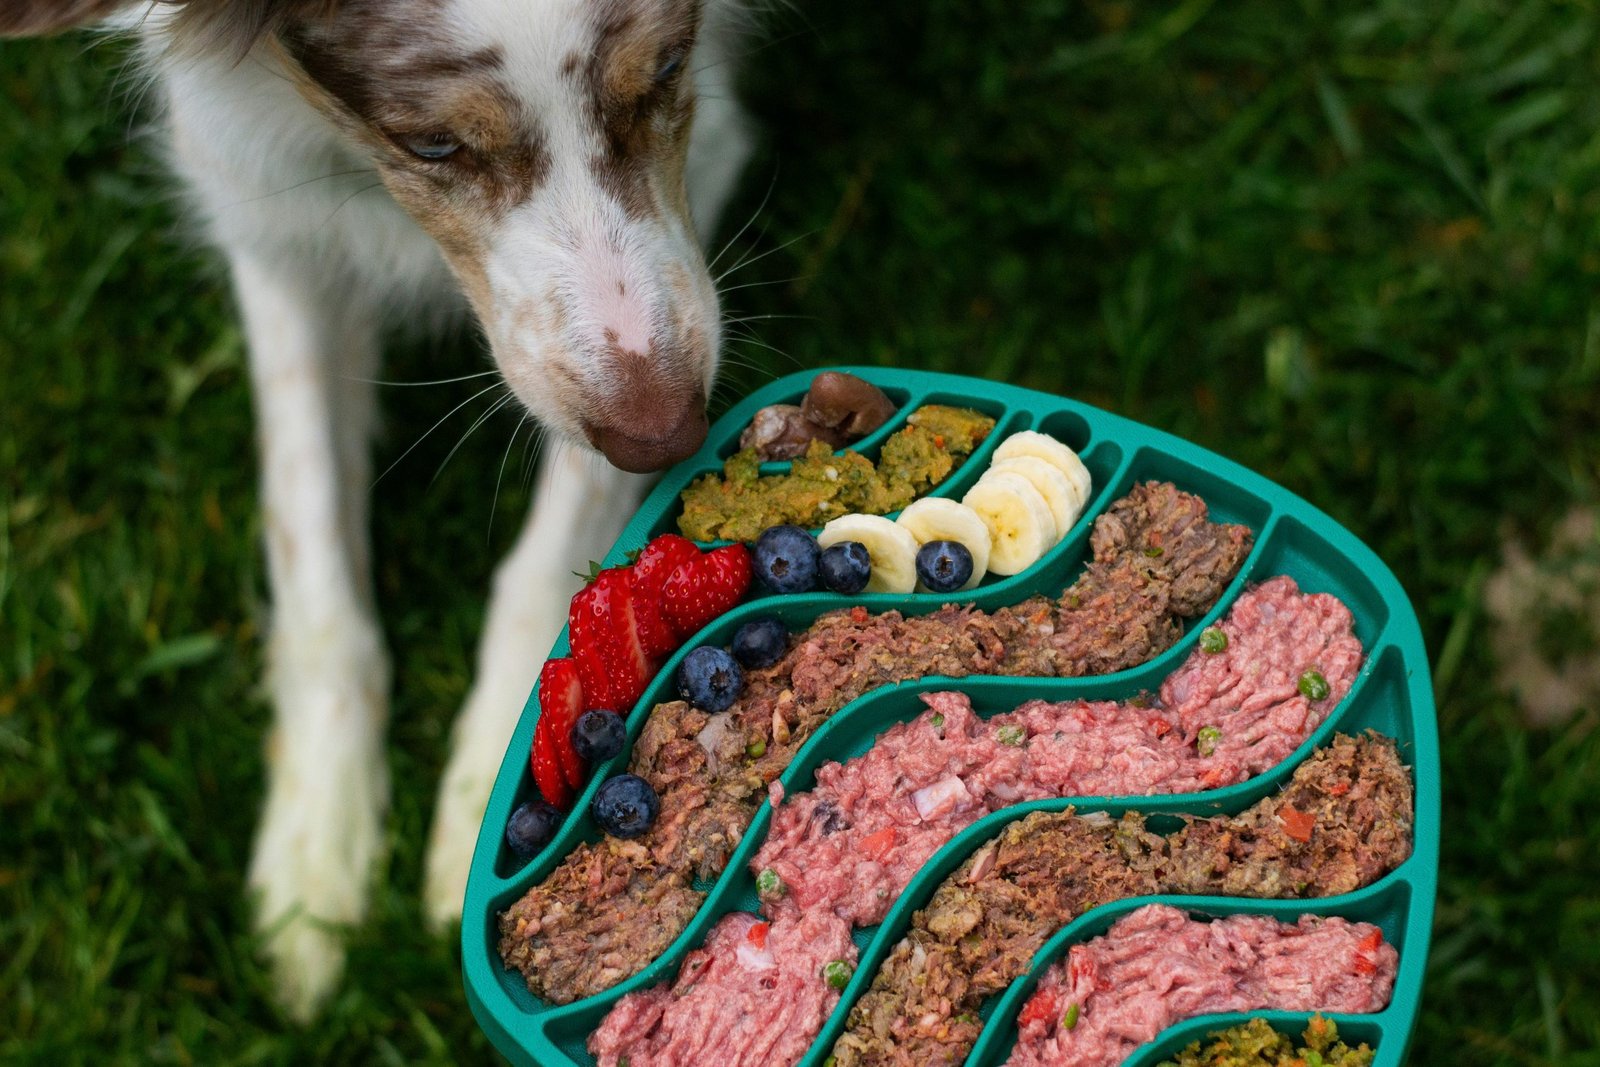
As pet ownership continues to surge across the globe, more dog parents are taking control of their furry friends’ nutrition by making treats at home. With rising concerns about commercial pet food recalls and mysterious ingredients, homemade dog treats have become the gold standard for health-conscious pet owners in 2025.
Making your own dog treats isn’t just about knowing exactly what goes into your pet’s mouth – it’s about creating special bonding moments, saving money, and tailoring nutrition to your dog’s specific needs. Whether you’re dealing with food allergies, trying to manage your dog’s weight, or simply want to spoil your four-legged family member with something special, these recipes will transform your kitchen into a doggy bakery.
Why Choose Homemade Over Store-Bought Dog Treats?
The commercial pet treat industry has faced significant scrutiny in recent years. From contamination scares to questionable sourcing practices, many pet parents have lost trust in mass-produced options. When you make treats at home, you become the quality control manager, ingredient sourcer, and nutritionist all rolled into one.
Cost savings represent another compelling reason to go homemade. Premium dog treats can cost upwards of $15-20 per pound, while the same quantity of homemade treats might cost you $3-5 to produce. For families with multiple dogs or those who use treats frequently for training, these savings add up quickly throughout the year.
Customization stands as perhaps the greatest advantage of homemade treats. Does your Golden Retriever have a chicken allergy? No problem – swap it for turkey or fish. Is your senior Beagle watching their waistline? You can reduce calories and increase fiber. This level of personalization simply isn’t possible with commercial products designed for the masses.
Essential Ingredients for Healthy Dog Treats
Before diving into specific recipes, understanding which ingredients benefit your dog’s health will help you become a more confident treat-maker. The foundation of any good homemade dog treat starts with whole, recognizable ingredients that provide nutritional value beyond empty calories.
Protein Sources: Lean meats like chicken breast, turkey, beef, and fish provide essential amino acids for muscle maintenance and development. Eggs serve as another excellent protein source and work wonderfully as a binding agent in baked treats. For vegetarian options, plain Greek yogurt and cottage cheese offer protein while adding moisture to recipes.
Healthy Carbohydrates: Sweet potatoes top the list for their beta-carotene content and natural sweetness that dogs love. Oats provide fiber and can help regulate digestion, while brown rice flour serves as a gentle, easily digestible base for many recipes. Pumpkin puree (not pie filling) adds fiber, vitamins, and a flavor most dogs find irresistible.
Beneficial Fats: A small amount of coconut oil can promote a shiny coat and healthy skin. Olive oil provides omega fatty acids, though it should be used sparingly. Fish oil supplements can be incorporated into soft treats for dogs needing extra omega-3 support.
Fruits and Vegetables: Carrots add crunch and beta-carotene, while apples provide fiber and vitamins (always remove seeds and core). Blueberries pack antioxidants into tiny packages, and bananas offer potassium and natural sweetness. Green beans work well in lower-calorie recipes for weight management.
Safety First: Ingredients to Always Avoid
Creating a safe treat-making environment means knowing which common household ingredients can harm your dog. This knowledge could literally save your pet’s life, as some foods that humans enjoy regularly can be toxic to dogs.
Chocolate tops the danger list, with dark chocolate and baking chocolate posing the greatest risks. The compound theobromine, which humans metabolize easily, can cause seizures, heart problems, and death in dogs. Similarly, xylitol, an artificial sweetener found in sugar-free gums and candies, can cause rapid insulin release and liver damage.
Grapes and raisins, while healthy for humans, can cause kidney failure in dogs even in small quantities. The exact mechanism isn’t fully understood, but the risk is serious enough that these fruits should never appear in homemade dog treats. Onions and garlic, including powders and seasonings, can damage red blood cells and lead to anemia.
Macadamia nuts can cause weakness, depression, vomiting, and hyperthermia in dogs. Avocado contains persin, which can cause digestive upset, while raw yeast dough can expand in your dog’s stomach, creating dangerous bloating and alcohol poisoning as the yeast ferments.
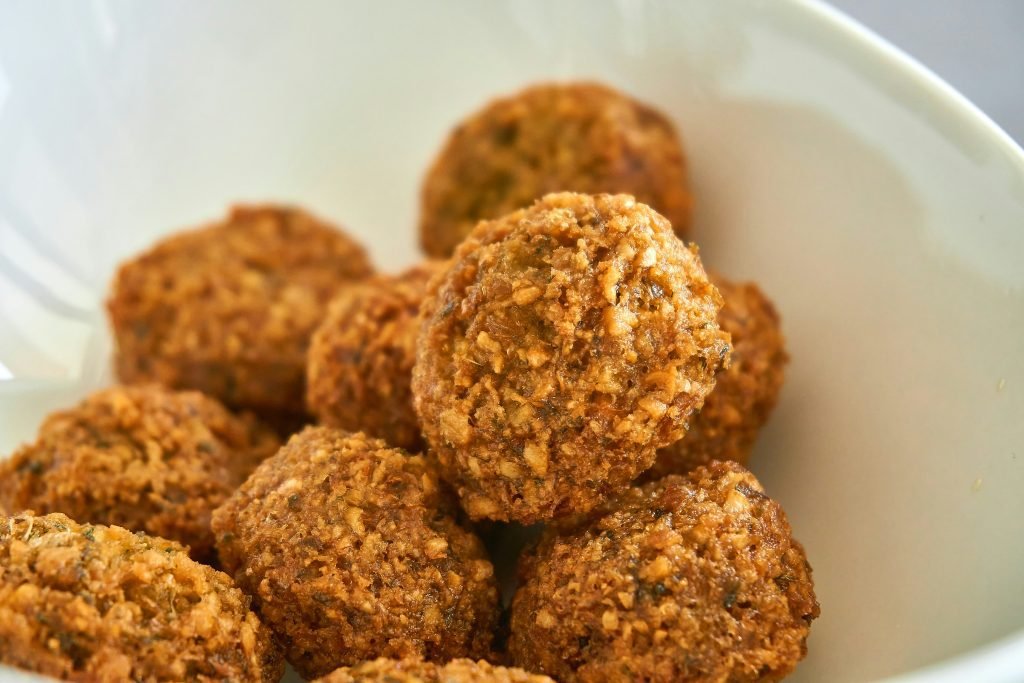
Recipe 1: Classic Peanut Butter and Oat Cookies

These simple, three-ingredient cookies have become a staple in dog-loving households across America. They’re perfect for beginners and require no special equipment beyond what most kitchens already have.
Ingredients:
- 2 cups old-fashioned oats
- 1/2 cup natural peanut butter (xylitol-free)
- 2 large eggs
Instructions:
Preheat your oven to 350°F and line a baking sheet with parchment paper. In a large mixing bowl, combine the oats, peanut butter, and eggs, stirring until a cohesive dough forms. The mixture should hold together when pressed but not be overly sticky.
Using your hands or a small cookie scoop, form the dough into walnut-sized balls and place them on the prepared baking sheet. Gently flatten each ball with a fork, creating the classic crisscross pattern that also helps ensure even baking.
Bake for 12-15 minutes, until the edges are lightly golden but the centers still look slightly soft. Allow the cookies to cool completely on the baking sheet before storing in an airtight container. These treats will stay fresh for up to one week at room temperature or can be frozen for up to three months.
Recipe 2: Sweet Potato and Turkey Training Bites
Perfect for training sessions, these bite-sized morsels provide high-value rewards without overloading your dog with calories. The combination of protein and complex carbohydrates makes them satisfying and nutritious.
Ingredients:
- 1 large sweet potato, baked and mashed
- 1 pound ground turkey, cooked and cooled
- 1 cup coconut flour
- 2 eggs
- 1 tablespoon coconut oil, melted
Instructions:
Start by baking your sweet potato at 400°F for 45-60 minutes until fork-tender. Allow it to cool, then remove the skin and mash the flesh until smooth. Cook the ground turkey in a skillet over medium heat, breaking it into small pieces as it browns. Drain any excess fat and let cool.
Preheat your oven to 325°F. In a large bowl, combine the mashed sweet potato, cooked turkey, coconut flour, eggs, and melted coconut oil. Mix thoroughly until the ingredients form a moldable dough.
Roll the mixture into small balls, about the size of a marble, and place them on a parchment-lined baking sheet. These don’t need to be perfect – rustic shapes work just fine for training treats.
Bake for 20-25 minutes, until the treats are firm to the touch and lightly browned. Cool completely before storing. These treats can be refrigerated for up to five days or frozen in portion-sized bags for convenient training sessions.
Recipe 3: Frozen Yogurt and Berry Pupsicles

Summer heat calls for cooling treats, and these frozen delights provide relief while delivering probiotics and antioxidants. They’re particularly helpful for teething puppies or dogs recovering from dental procedures.
Ingredients:
- 1 cup plain Greek yogurt (unsweetened)
- 1/2 cup fresh blueberries
- 1/2 cup diced strawberries (tops removed)
- 1 tablespoon honey (optional)
- Ice cube trays or silicone molds
Instructions:
Wash and prepare your berries, removing any stems or leaves. In a blender or food processor, pulse the berries until they’re broken down but still have some texture – you want small pieces, not a completely smooth puree.
In a mixing bowl, combine the Greek yogurt with the berry mixture. If your dog enjoys sweeter treats and doesn’t have weight concerns, add the honey and stir until well distributed.
Spoon the mixture into ice cube trays or silicone molds designed for dog treats. Tap the trays gently on the counter to remove air bubbles and ensure even distribution.
Freeze for at least 4 hours or overnight. To remove the treats, briefly run warm water over the bottom of the trays or flex silicone molds gently. Store the finished pupsicles in freezer bags for up to three months.
Recipe 4: Grain-Free Chicken and Vegetable Biscuits
For dogs with grain sensitivities or those following grain-free diets, these hearty biscuits provide all the satisfaction of traditional dog cookies without wheat, corn, or rice.
Ingredients:
- 2 cups almond flour
- 1 cup cooked chicken breast, finely chopped
- 1/2 cup finely grated carrots
- 1/4 cup chopped fresh parsley
- 2 eggs
- 1/4 cup chicken broth (low-sodium)
Instructions:
Preheat your oven to 350°F and prepare a baking sheet with parchment paper. Cook chicken breast thoroughly and allow it to cool before chopping into small, uniform pieces. Grate carrots finely – a food processor makes this task much easier.
In a large bowl, whisk together the almond flour and eggs until well combined. Add the chicken broth gradually, mixing until a workable dough forms. The consistency should be firm enough to roll but not crumbly.
Fold in the chopped chicken, grated carrots, and fresh parsley, distributing the mix-ins evenly throughout the dough. On a lightly floured surface (using more almond flour), roll the dough to about 1/4-inch thickness.
Use cookie cutters or a knife to create shapes, transferring them to the prepared baking sheet. Bake for 18-22 minutes, until the biscuits are golden brown and firm to the touch.
Cool completely before serving or storing. These grain-free treats maintain their quality for about one week in an airtight container or can be frozen for longer storage.
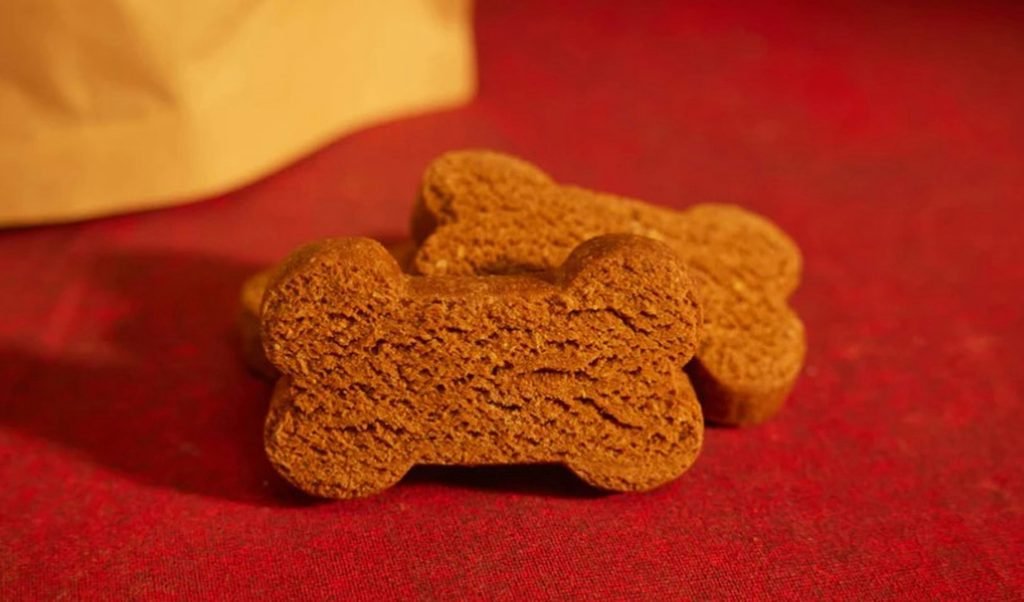
Recipe 5: Dental Health Mint and Parsley Chews

Oral health often gets overlooked in dog care, but these specially formulated chews help freshen breath while providing a satisfying chewing experience that can help reduce plaque buildup.
Ingredients:
- 2 cups whole wheat flour
- 1/2 cup fresh mint leaves, finely chopped
- 1/4 cup fresh parsley, finely chopped
- 1 egg
- 1/3 cup water
- 2 tablespoons olive oil
- 1 tablespoon baking soda (helps neutralize odors)
Instructions:
Wash and thoroughly dry the fresh herbs before chopping them finely. In a large mixing bowl, combine the flour and baking soda, whisking to eliminate any lumps.
Create a well in the center of the dry ingredients and add the egg, water, and olive oil. Mix until a shaggy dough begins to form, then add the chopped herbs, kneading gently until they’re evenly distributed.
Turn the dough onto a floured surface and knead for 2-3 minutes until smooth. The dough should be firm but not dry. Roll to about 1/2-inch thickness – these chews work better when they’re substantial enough to provide some chewing resistance.
Cut into stick shapes or use bone-shaped cutters for a more traditional appearance. Place on a parchment-lined baking sheet, leaving space between each chew for even air circulation.
Bake at 325°F for 25-30 minutes, until the chews are hard and golden. They should sound hollow when tapped. Cool completely before serving – proper cooling ensures the right texture for optimal dental benefits.
Storage and Safety Tips for Homemade Treats
Proper storage extends the life of your homemade treats while maintaining their nutritional value and safety. Most baked treats can be stored at room temperature in airtight containers for 7-10 days, though treats containing fresh meat or dairy should be refrigerated and used within 3-5 days.
Freezing represents the best long-term storage solution for homemade dog treats. Portion treats into serving-sized amounts using freezer bags or containers, removing as much air as possible to prevent freezer burn. Properly frozen treats maintain their quality for up to six months.
Always inspect treats before serving, discarding any that show signs of mold, unusual odors, or texture changes. When introducing new treats, start with small amounts to monitor your dog’s reaction, especially if they have known food sensitivities.
Label your containers with preparation dates and ingredients – this practice helps track freshness and proves invaluable if your dog experiences any adverse reactions. If you’re making treats for multiple dogs with different dietary needs, color-coded containers or labels can prevent mix-ups.
Customizing Recipes for Special Dietary Needs
Every dog is unique, and their treat requirements may vary based on age, size, health conditions, and activity level. Senior dogs might benefit from softer textures and joint-supporting ingredients like glucosamine-rich bone broth. Puppies need smaller portions and softer textures that won’t damage developing teeth.
For overweight dogs, reduce caloric density by incorporating more vegetables and reducing fats. Substitute pumpkin puree for some of the flour in baked goods, or create veggie-heavy frozen treats using pureed green beans and carrots.
Dogs with kidney issues require low-phosphorus ingredients, while those with heart conditions benefit from low-sodium recipes. Always consult with your veterinarian before making dietary changes for dogs with health conditions, as treat modifications might need to align with prescribed diets or medications.
Active working dogs or those in training programs may need higher-value treats with increased protein content. Consider adding freeze-dried liver powder or using multiple protein sources to create irresistible training rewards that maintain your dog’s attention during challenging sessions.
Creating Lasting Memories Through Homemade Treats
Making homemade dog treats transforms a simple kitchen activity into a meaningful expression of love for your canine companion. The time invested in measuring, mixing, and baking creates treats that nourish both body and soul – yours and your dog’s.
These recipes provide starting points for your own culinary adventures with your pet. Don’t be afraid to experiment with ingredient substitutions based on your dog’s preferences and your family’s pantry staples. The joy on your dog’s face when they taste something you’ve made specifically for them makes every minute of preparation worthwhile.
Remember that treats should complement, not replace, a balanced diet. Use them as training tools, special rewards, or bonding activities, but always in moderation. With these recipes in your repertoire, you’re well-equipped to provide your furry friend with healthy, delicious treats that demonstrate your commitment to their well-being.
Start with one simple recipe, observe your dog’s enthusiasm, and gradually expand your homemade treat-making skills. Before long, you’ll wonder why you ever relied on store-bought options when creating something special for your best friend is so rewarding and surprisingly simple.